
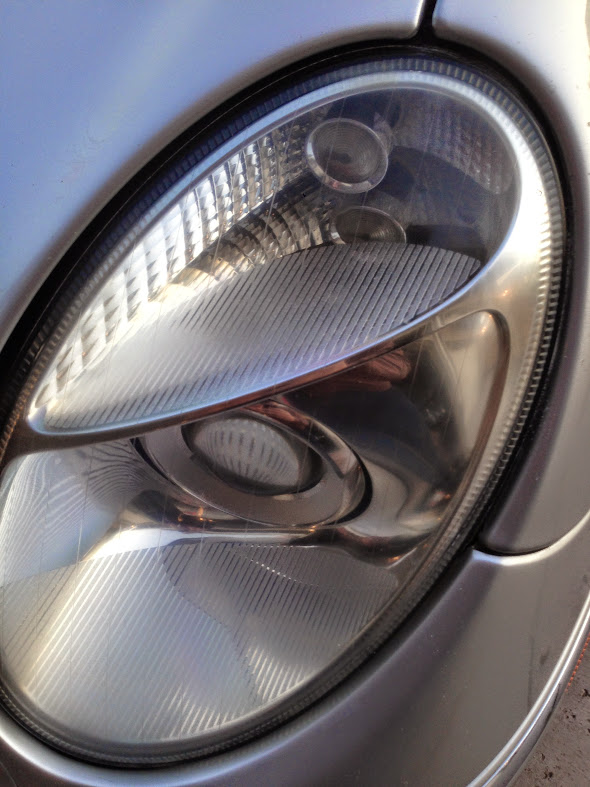
Here's a pic of the headlights pre-fix - they're quite faded, parts of the top-coat have flaked off and just looks terrible for a car that once cost $92k... it's a shambles! This needs fixed!

Notice on the headlight, the chipping near the top of the lens and even the city light has some fading and hazing. When the HIDs are on at night, this lens looks horrible - the passenger side is perfect (because it was replaced last year with a new headlight assembly)!
Here's a closeup of the main lens - ick!

The first step is to wash the area with soap and water, then tape off the edges - believe me - be sure to tape it well. Sandpaper can strip your clearcoat/paint in seconds!

Ok - now you get the 500 grit sandpaper, don't freak out at this next photo - I did, and read the directions - it says not to freak out because the lens will get very hazy and translucent. You can even seen the high and low spots on the lens in the pic below. Looks nasty!

This is both the city light and driver's side lens after a full 500 grit sanding. You're supposed to sand it down until the high/low spots are no longer noticeable.

Then you use the 800 grit sandpaper discs - this removes the heavier gouges and scratches from the 500 grit paper discs. Remember, the higher the number, the finer the grit and smoother finish. Really the only difference you can see at this distance is that the insides of the lenses look a little

Next you switch to a 3200 grit pad - this almost feels like rubber. You spritz water on the pad and on the lenses. You polish until you see a white hazy slurry form and run off the headlights - this is the 3200 grit removing the 800 grit edges - making an even smoother finish - very nice!

It's not done yet! Next step is to get the buffing pad, looks a bit like a sponge with ridges/bumps all over it. You add a dime size dollop of the headlight glaze and polish away. This ultra fine grit further refines the finish of the 3200 grit paper.
Here's a pic with the tape removed and the finished result!

Simply stunning results for $14
3M 39008 Headlight Lens Restoration System
Now a comparison of the new headlight and my newly polished headlight - can you tell them apart?

and one more last pic of before and after!
Definitely a 5-star rating!
No comments:
Post a Comment