Sunday, December 28, 2014

Sunny day - hey lets polish headlights!

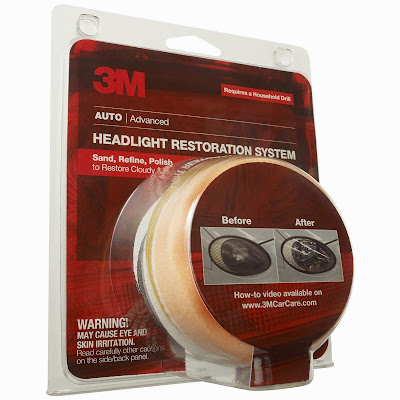
OMG - so it's been about 4 months since my last post, where I purchased the 3M Headlight Restoration Kit and finally got some free time to try this kit out.  Outside in sunny California today was a balmy 58 degrees, so I got my kit out and my trusty cordless drill.

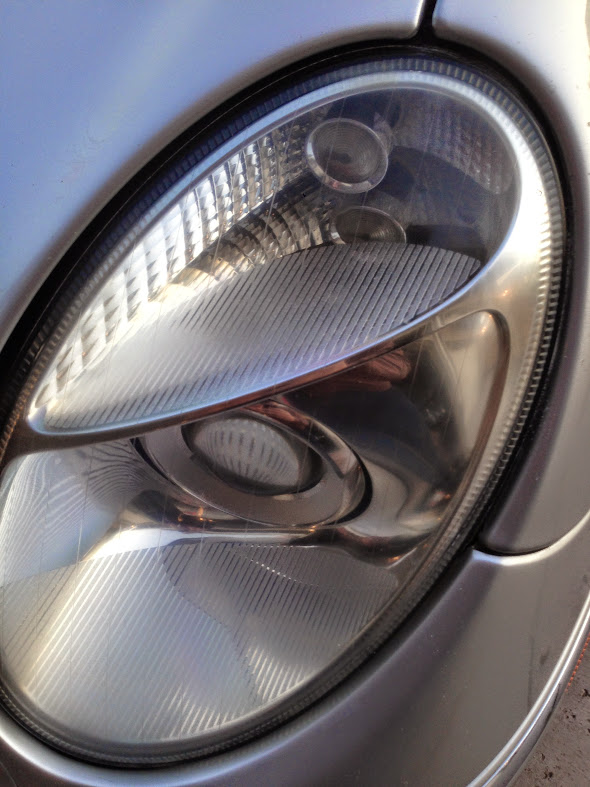
Here's a pic of the headlights pre-fix - they're quite faded, parts of the top-coat have flaked off and just looks terrible for a car that once cost $92k... it's a shambles!  This needs fixed!


Notice on the headlight, the chipping near the top of the lens and even the city light has some fading and hazing.  When the HIDs are on at night, this lens looks horrible - the passenger side is perfect (because it was replaced last year with a new headlight assembly)!

Here's a closeup of the main lens - ick!

The first step is to wash the area with soap and water, then tape off the edges - believe me - be sure to tape it well.  Sandpaper can strip your clearcoat/paint in seconds!

Ok - now you get the 500 grit sandpaper, don't freak out at this next photo - I did, and read the directions - it says not to freak out because the lens will get very hazy and translucent.  You can even seen the high and low spots on the lens in the pic below.  Looks nasty!


This is both the city light and driver's side lens after a full 500 grit sanding.  You're supposed to sand it down until the high/low spots are no longer noticeable.

Then you use the 800 grit sandpaper discs - this removes the heavier gouges and scratches from the 500 grit paper discs.  Remember, the higher the number, the finer the grit and smoother finish.  Really the only difference you can see at this distance is that the insides of the lenses look a little

'crisper' than the 500 grit photo above.

Next you switch to a 3200 grit pad - this almost feels like rubber.  You spritz water on the pad and on the lenses.  You polish until you see a white hazy slurry form and run off the headlights - this is the 3200 grit removing the 800 grit edges - making an even smoother finish - very nice!


It's not done yet!  Next step is to get the buffing pad, looks a bit like a sponge with ridges/bumps all over it.  You add a dime size dollop of the headlight glaze and polish away.  This ultra fine grit further refines the finish of the 3200 grit paper.

Here's a pic with the tape removed and the finished result!

Simply stunning results for $14

3M 39008 Headlight Lens Restoration System


Now a comparison of the new headlight and my newly polished headlight - can you tell them apart?

and one more last pic of before and after!
 

Definitely a 5-star rating!


Thursday, August 21, 2014

3M Headlight Restoration KIt

It's finally gotten to the point where my driver's side headlight needs a good polish. It's yellowing and looking terrible in comparison to my freshly replaced passenger side light (yay warranty!)

I picked up this 3M Headlight Restoration Kit - I've heard great things about it, and hopefully I can find some time this weekend to do it up :)


http://amzn.to/1tqYMfe

I've been told to follow the directions explicitly to get the best results.  Does anyone have any tips or tricks?

Wednesday, July 16, 2014

First time to Sacramento Raceway in the E55

Yes - that's me on the left hand side!  Wheel-spin and all - the best I could muster is a 12.4603 @ 116.71.  Had a total blast with my son tonight, so it was well worth the time and money.


Wednesday night @ Sac Raceway is open drag night, anyone can race!  It's only $15 to race, and an additional $10 to rent a helmet (which I needed to rent!).  Hopefully in time, my times will improve - but if you ever want to give it a try - just do it!

Monday, June 23, 2014

Finally got some new brakes installed...

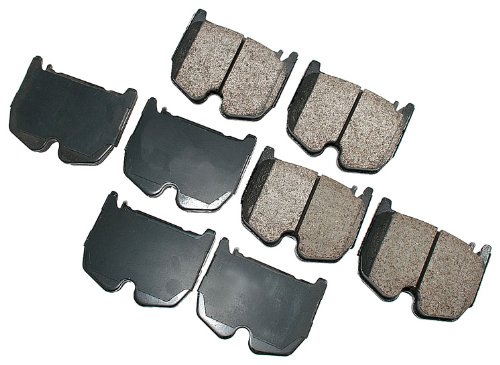
I had my Akebono EUR983 pads sitting for a LONG time, waiting for the original OEM dusty pads to wear down...  the dealer wanted $1,200 to do the front brakes alone (EEK!)

I ended up getting some x-drilled zinc plated rotors from http://www.brakeperformance.com and along with the Akebono pads - we're talking ~$400 for everything.  So I saved ~$800 :)  The Brake Performance Rotors are custom built per order, I had mine zinc plated with black painted hats...


Yes you say, geez $400 for brakes - but remember these are brembo calipers with 4 pads per side, and a 14" rotor - very beefy!


The Akebono EUR983s have been SPECTACULAR when it comes to brake dust - seriously - why did I wait this long!?!

Definitely worth the wait!


Sunday, June 22, 2014

New dyno tune and new power numbers!

We had our local tune and dyno meet - Jerry from Eurocharged came to the Bay Area for a few days to tune about a dozen cars.  Always knowledgeable and very professional - excellent customer service!


My car put down some great power numbers - my goal was at least 469HP (at the wheels).  Why?  Because the factory rates these cars at 469HP at the crank - which means they make 390-420 factory.

It was mid-afternoon and ~87F but the car made 481rwhp and 519rwtq


This was with the 83mm S/C pulley, and Kleemann mid-length headers - plus the tune.  About 80 more rwhp from stock - VERY noticeable!!

Overall - really happy with the results!  Of course, everyone says I need to go for 500rwhp now (LOL)


Monday, March 31, 2014

got racecar?

Kleemann headers - gotta love the sound, such unexpected noise on the Merc :)


Don't worry, it's all sealed up now but I had to capture the raw sound...

and now for something yummy...


Monday, February 3, 2014

Mountek nGroove Snap Magnetic Vehicle Mount - awesome!

Like most people, I like to use my phone for various things in the car (texting isn't one of them!).  But I often struggled with where to put my phone while driving.

In the spot next to the 12v port?  nope - phone is too long
On the console next to the shifter?  nope - slides all around
On the passenger seat?  yah, follow the GPS when it's on the seat

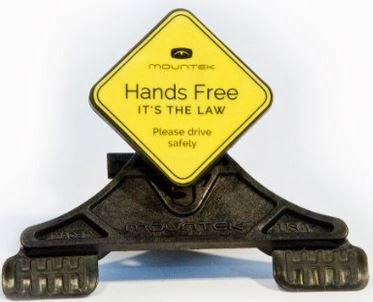
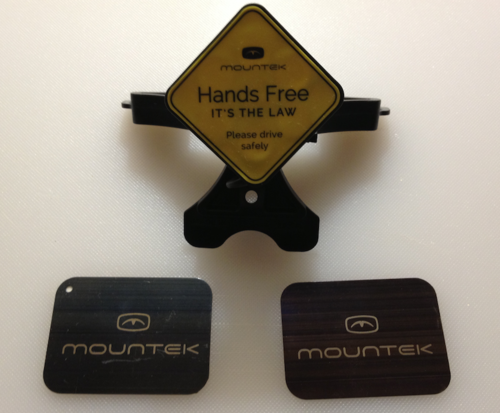
So I searched for the solution and this was recommended by a friend - the Mountek nGroove Snap Magnetic Vehicle Mount for Mobile Devices with Yellow Safety Sticker  for less than $30!


Instagram
Ok - yes, I know, it has the HANDS FREE sticker - but that's fine with me!  It's been a law here in California for 2.5 years, and everyday I see people texting/calling, etc on their phones.  So this is a GREAT solution!

What's pretty neat about this setup is the big yellow sticker has a magnet underneath!  And a few metallic plates come with the mount and you slip those plates inside your smartphone case - and it allows the magnet to hold your phone - almost 'levitating' in the air using your CD slot.  


At first when I mounted it, it was way too low and covered much of my radio/GPS screen in the E55.  But the mount rotates 360 degrees, and I flipped it 180 and it sits pretty much in between the heater controls and I can still see the screen below.  I have the Google Maps app running (so much more accurate than the built in GPS) - but I could also use my Dash Command to monitor the vehicle metrics while driving as well! 


Overall, highly recommended!  If you're looking for a nice mount that can hold your phone/tablet - this is it!

< $30!